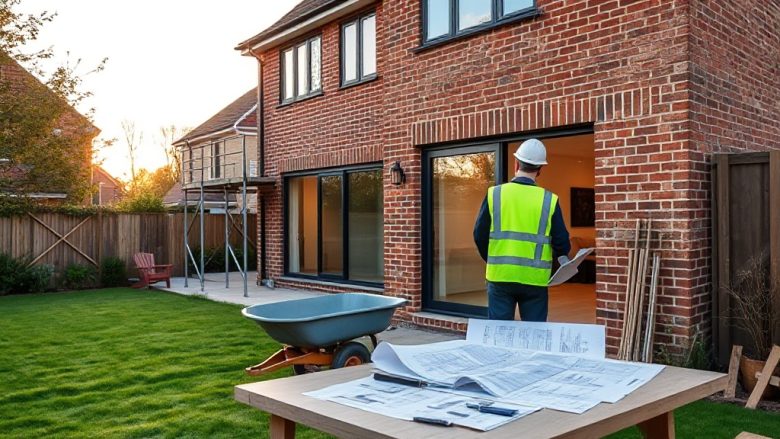
A home extension fails on sequencing, not on ambition. Most homeowners who end up paying twice do so because they booked a builder before checking whether the ground could take the load, or ordered windows before building control had signed off the design. This step by step guide to home extensions walks through the exact order of decisions and approvals, from the first feasibility check to the final snag list, so you do not have to undo work you have already paid for.
Step 1: Feasibility and Budget Reality Check
Before you sketch anything, establish what is actually possible. This step usually takes one to two weeks and costs little or nothing if you do the groundwork yourself. Start with the title deeds and any planning history on your local authority’s public register. Look for restrictive covenants, rights of way, and whether the property sits in a conservation area or an area of outstanding natural beauty. These constraints change everything downstream, from the materials you can use to whether you need permission at all.
Next, walk the site. Check drainage runs, manhole covers, mature tree roots, and the position of the gas and electricity supply. A single large tree within a few metres of the proposed footprint can force a deeper, more expensive foundation. Measure the garden depth and the distance to the boundary. If your extension would come within a metre of the boundary and rise above a certain height, you may need a party wall agreement later, so note it now.
Then set a realistic budget. Build costs vary by region and specification, but as a working figure, allow a substantial contingency on top of your main estimate. The common mistake here is budgeting from the building cost alone. Professional fees, planning fees, building control fees, party wall costs, and the VAT on materials all add up. If your total budget leaves no room for surprises, the project is already at risk.
Step 2: Planning Permission and Lawful Development
Many extensions fall under permitted development rights, which means you may not need a full planning application. That said, permitted development has limits on depth, height, eaves, and the amount of the original house the extension can cover. It also does not apply if the property is a flat, a maisonette, or in certain protected areas. This step takes around eight to ten weeks if you need a full application, and less if you are confirming permitted development with a lawful development certificate.
If you do need permission, your designer prepares drawings and a design and access statement. The application goes to the local planning authority, which consults neighbours and may ask for amendments. Do not treat this as a formality. A refusal or a condition you cannot meet can force a redesign, and a redesign after you have engaged a builder is the most expensive mistake in the whole process.
The common mistake at this stage is assuming approval is guaranteed because a neighbour built something similar. Planning decisions depend on the specific site, the officer’s judgement, and local policy. Submit the application before you sign a building contract, not after.
Step 3: Building Regulations and Structural Design
Planning permission and building regulations are separate approvals, and passing one does not mean you have satisfied the other. Building regulations cover how the structure is built: foundations, damp proofing, insulation, drainage, fire safety, and ventilation. This step runs alongside or shortly after planning and typically takes four to six weeks for the initial assessment, with inspections continuing through construction.
You will need structural calculations for any load-bearing element, such as a steel beam where you remove a rear wall or a new opening in an internal wall. A structural engineer produces these, and your builder follows them. Skipping this step, or letting a builder ‘work it out on site’, is a classic route to a failed inspection and remedial work that can cost more than the original job.
You also need to decide how you will comply with Part L (energy efficiency) and Part F (ventilation), because these influence glazing specification, wall build-up, and whether you need mechanical ventilation. Get these decisions into the drawings before construction starts. Changing insulation or glazing after the walls are up is painful and expensive.
Step 4: Party Wall Agreements and Neighbourly Consents
If your extension involves work to a shared wall, or excavation within three metres of a neighbouring structure and below its foundation level, the Party Wall etc. Act applies. This step takes two to four months if neighbours cooperate, and longer if they do not. You serve notice, and if the neighbour dissents, you appoint a surveyor, and they appoint theirs, or both agree on a single joint surveyor.
The common mistake is treating the party wall process as a box-ticking exercise. A neighbour who feels ignored can delay your start date by months, and the costs of a dispute fall on you. Talk to neighbours early, explain the plan, and serve notices properly. A short conversation now is cheaper than a surveyor’s dispute later.
This is also the point to check whether you need any other consents, such as landlord permission if you lease the property, or freeholder consent if it is a leasehold flat. These are easy to overlook and can stall a project at the worst possible moment.
Step 5: Hiring Contractors and Agreeing the Programme
With approvals in place or clearly on track, you can go to market. This step takes four to eight weeks if you are thorough. Get at least three quotes from builders who have done similar work and can provide references you actually contact. Ask to see a completed extension, not just photos. Check whether they are members of a competent person scheme and whether they carry insurance that covers the work.
Compare quotes line by line, not just the totals. A cheap quote often excludes scaffolding, waste removal, or making good. Agree a written contract that sets out the scope, the price, the payment schedule tied to milestones, and the programme. Never pay a large deposit upfront. Staged payments linked to completed work protect you if the builder walks away or goes under.
The common mistake is choosing on price alone and starting before the contract is signed. Verbal agreements are almost impossible to enforce. A clear contract with a realistic programme is your best protection against delays.
Step 6: Construction Phases, Inspections, and Snagging
Construction typically runs twelve to twenty weeks for a modest single-storey extension, longer for two storeys or complex designs. The sequence is broadly: site setup and demolition, foundations and building control inspection, damp proof course and oversite, superstructure and steelwork, roof, external doors and windows, then first fix electrics and plumbing, insulation, plastering, second fix, and decoration.
Building control inspects at key stages, and you must not cover up work before it has been seen. Missing an inspection can mean opening up finished walls later. Keep a simple log of inspection dates and any conditions the inspector raises, and make sure your builder addresses them before moving on.
As the work nears completion, you compile a snagging list: the small defects that need fixing before you accept the job. Walk the extension with the builder, note every issue, and agree a date for completion. Hold back a retention sum until the snags are done and the building control completion certificate is issued. That certificate matters when you sell, and it is the final proof that the extension was built correctly.
The common mistake at this stage is paying the final invoice before snags are resolved. Once the money has changed hands, your leverage disappears. A short delay in final payment is far less costly than chasing a builder for months.
Work through these six steps in order, and you avoid the two most expensive outcomes: redoing work because an approval came too late, and paying twice because a decision was made before the information was available. The sequence is not glamorous, but it is what separates a smooth extension from a stressful one.